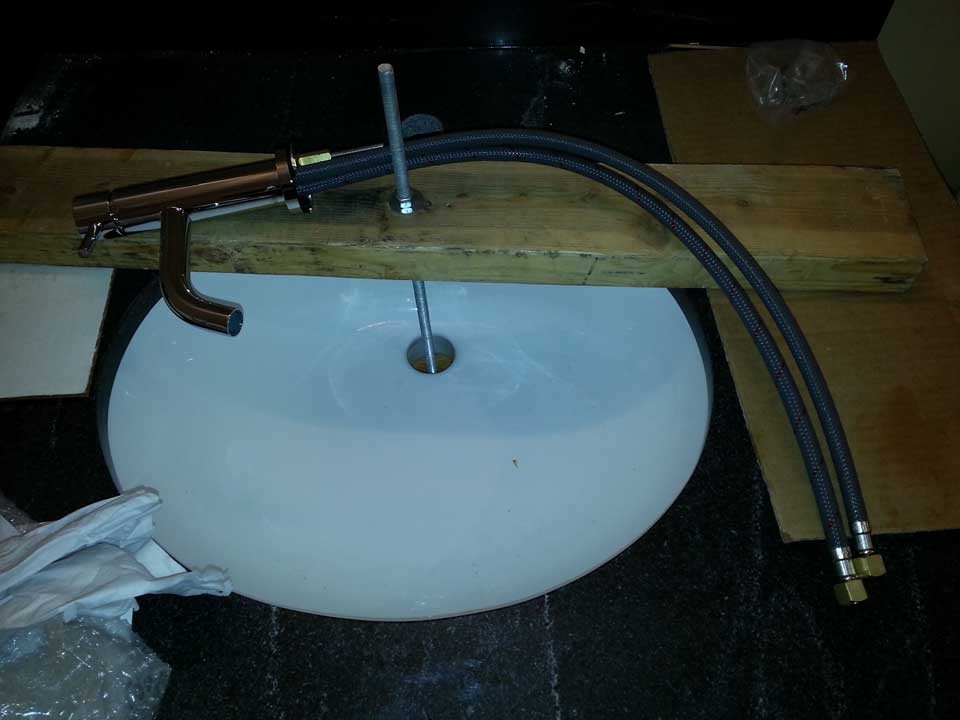
Many kitchen sinks, or other sinks for that matter can be done with one person. Others can be tricky and two will be the time-saving option. When doing sinks, inserting the tap first will save the nuisance of attempting to add it later when a sink is in the way. For some sinks, doing it after the sink is not that bothersome.
In our case, we will do a simple round sink. To install a sink, we hoist it up with ready rod, wing nuts, a nut, washers and a length of 2x4 with a hole cut in the middle. Once we are a couple inches from the top, we can balance it gently and apply a bead of silicon around the outer edge. We want the bead on the outside so it does not run into the finished sink, thus, leaving an undesired clean-up.

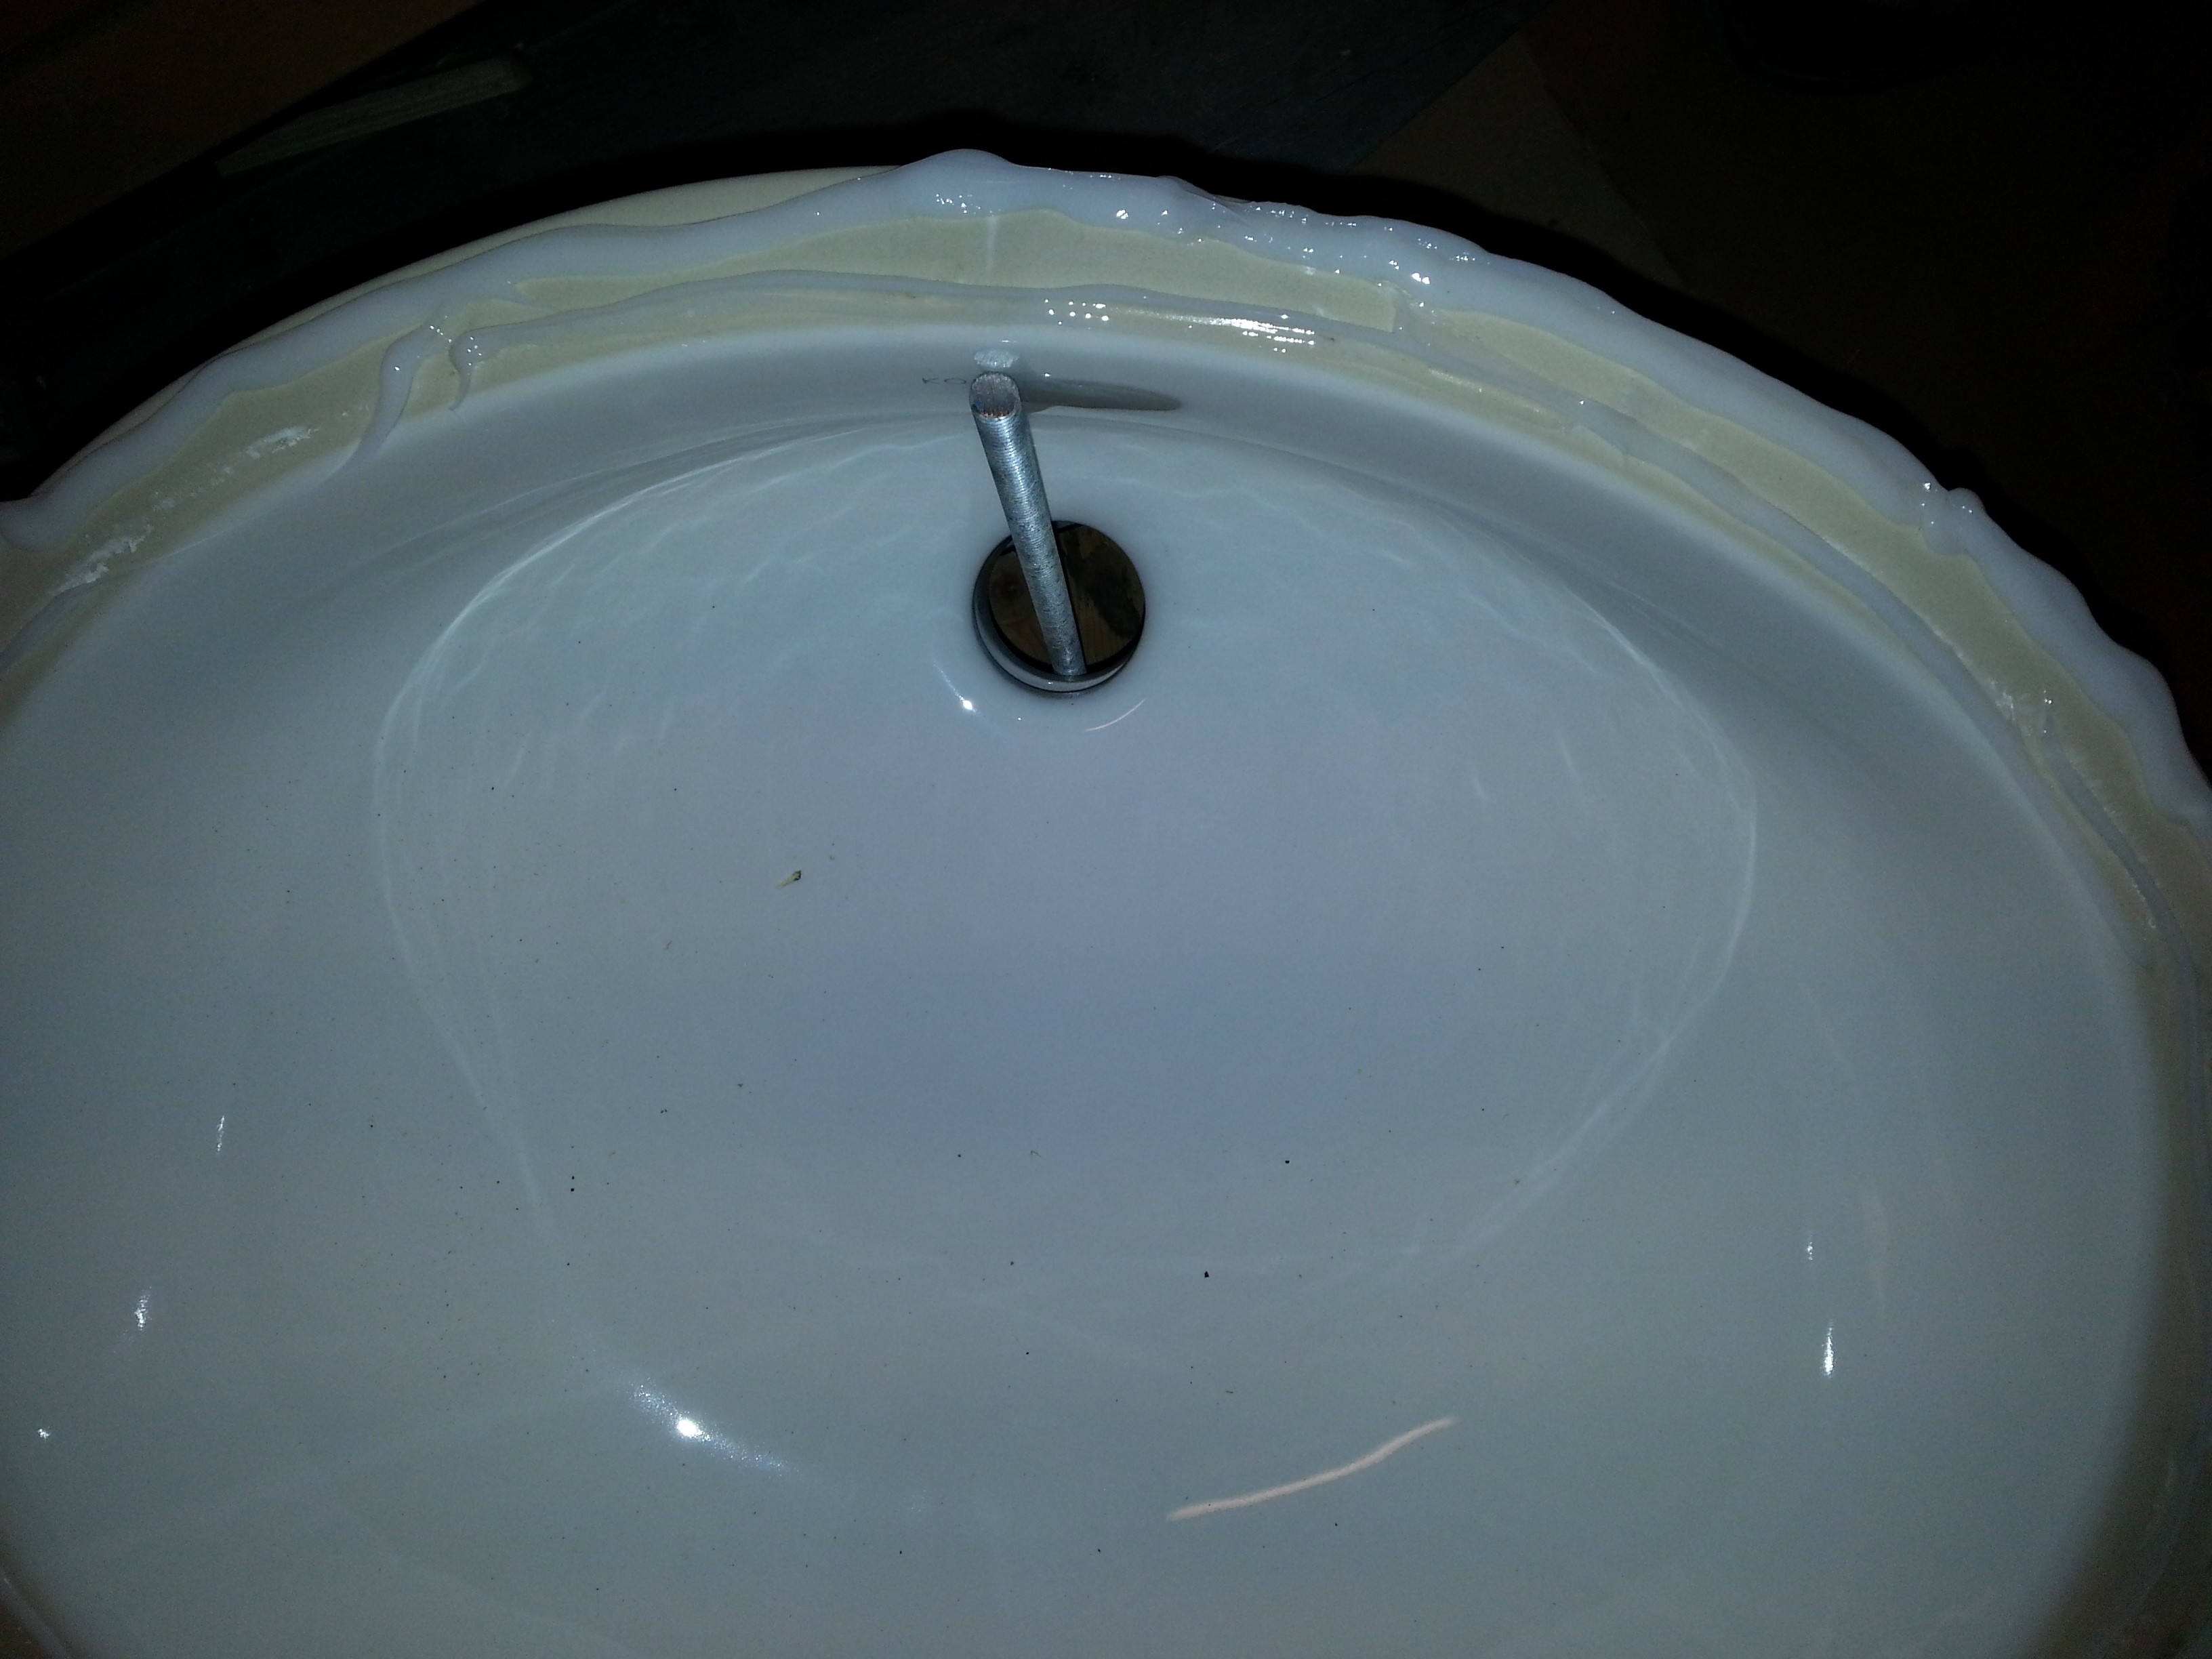
Once we are close to the top, we can use one hand and place the sink in position. We need to keep our hand on the bottom nut with ready rod so we can turn the top wingnut to make it tight.
At this point, we can use our fingers to check the distances all the way around and make sure all is even. We also want to make sure the apparatus is tight so our sink is tight against the bottom.

Once we have the perfect position and silicon has done some setting, we can add an extra layer of protection with all-round. When securing the all-round, we want slow action from the impactor so we don't twist it up. In addition, a good screw helps. If the all-round is a little loose, we can add another screw in the next lower hole of one of the sides.
The next steps are to add the drain assembly with a little silicon and fasten to the underside with the kit for the sink.We must be careful here because if not done right, it could leak from various sources on the bottom side. One such culprit is a poor silicon job.
After that, we connect the drainage to the trap arm and setup the water lines.

Once we are all setup, we can fill the sink and test the overflow(if exists), sink drain seal and other leaks.
