Anyone male, who is old enough to talk would know what a urinal is. However, not many would likely take the time to know much more than how to use one. Well, this minor lesson will will dive into those details.
Since disassembly is basically the opposite of assembly, we will not discuss those details, except the minor differences. The minor difference is that the disassembled urinal will have the nipple capped with a taped and piped doped black iron end cap.
Now, let's move on to assembly.
Assembly
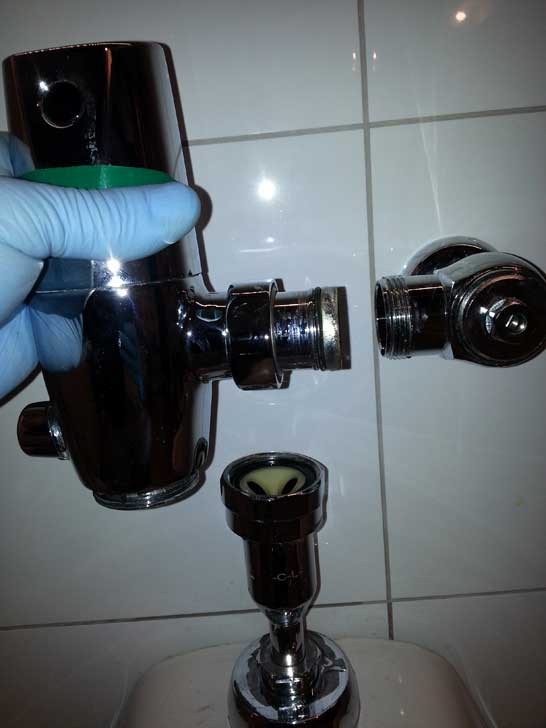
To assemble the urinal, the lower piece that connects to the urinal is located inside a bolt that is connected to a small, male threaded fitting that is tight and sealed into its female counterpart that is located under the top of the urinal on the underside of the porcelain.
To make the above mentioned fitting tight(if necessary), we can place a chisel inside the male from the top and make the bottom female tight.
After that, or even before the last procedure, we mount the fitting which is attached to the nipple located on the wall. A discussion ring with chrome is placed behind it before the fitting is threaded on with teflon tape and pipe dope.
Back-wrenching is required with this procedure or a super careful eye is required to ensure the nipple does not turn. A Sharpie mark on the nipple makes it easy to see and track any movement.
Now, we connect the main body to the side and bottom, and connect them tightly. Now, we can turn on the water and test for workability and leaks.
One potential source for leaks is the small piece of chrome that extends from the main body to the female half of the union. If it leaks, it may need tightening, or teflon tape and pipe dope if the o-ring is not doing its job.
Other potential leaks can normally be dealt with by tightening the threaded fittings. To tighten chrome fittings without scratching them, a set of large Channellocks can be used in combination with a rag under the jaws.
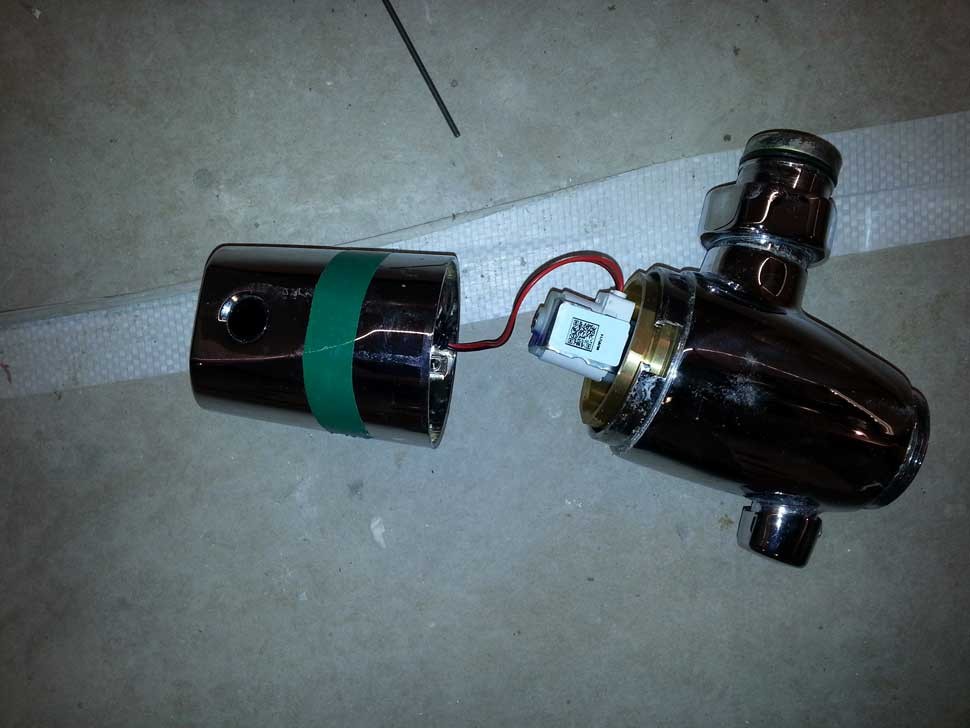
Now, in some circumstances, we could insert the main body and it is not working properly. For example, it could be stuck on perma-flushing. In this case, we need to disassemble the body from the side threads and bottom.
Of course, this starts with turning the water off, or we are in for a complete messup that could require more cleanup time than fix time. Also, after water is off and we disconnect the main body, we can place a bucket to the side where the sideways threads are located since a little water will pour out and run along the side of the urinal.
Once we have a our main body off, we can disassemble the two pieces with an Allen key and a slight twist. Then, we can remove the connection from the battery for a minute or so, reconnect, put the two body pieces back together and reassemble to the urinal.
Now, hopefully it works! Real faulty units may fail completely and this may not resolve the problem.
