With a new build, or renovation for that matter, we can find ourselves in a position to install a new toilet flange. It is quite easy and usually can be completed in a few minutes(without distractions).
Procedure #1 For Wood Floor
- Cut 2x8 piece of square backing
- Glue backing and screw it place so that flange is centered in the middle according to the exact location in the building plans and cut a 4 5/8" hole with a holesaw. In some cases, we may already have a hole and need to place in top of hole and re-cut.
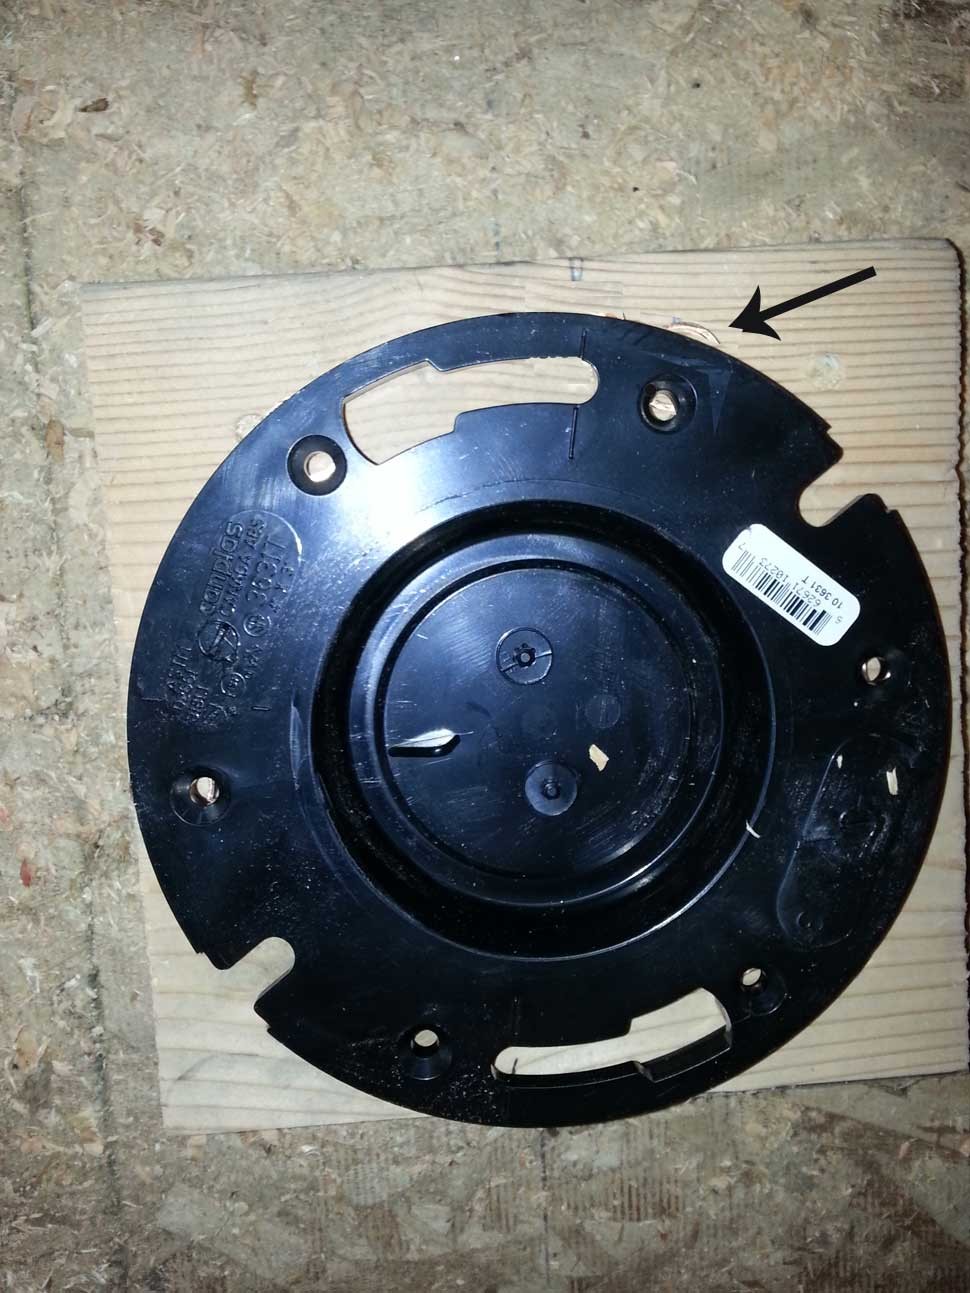
- Insert the flange and position it so that the t-bolts will fit inside the small grooves at the desired center. If the bolts can be closer to the ends of the small grooves, it will be stronger. However, we may have noticed flanges of more than 35 years with t-bolts smack in the middle and a slight bulge in the flange, yet, coming with a lifetime of no-leaks.
- Once the flange is in position, we can secure it with screws and 1/2-inch copper, pex rings. The rings should protrude from the outer edge of the flange. This can be done for all six holes.
For slab jobs, there is no wood backing. During a rough-in, there is 3-inch pipe that is capped up high for testing. The 3-inch pipe is cut flush, or slightly under the concrete level using a sawzall or flush cut saw.
Then, the burs are cleaned up with a knife or file, while being careful not to drop anything down the chute. After that, the flange is glued into the pipe at the desired position and stomped down on with a foot ensuring it is against the concrete.
Finally, bash pins are used to give it extra strength, even though a flange can hold up over 35 years without bash pin reinforcement.
